
How to Choose an FM Radio Transmitter Kit in 2026?

Choosing a Fm Radio Transmitter Kit in 2026 means looking beyond a low price or a long feature list. The right kit should match your intended use, technical experience, and local broadcast requirements. Start with the basics: frequency stability, audio-input options, power supply, and clear assembly instructions. A metal enclosure and a secure antenna connector can also matter when equipment runs for extended periods. Small details count.

Check the manufacturer’s specifications before buying. Look for operating ranges, output-power information, cooling guidance, and support for replacement parts. These details help you judge whether a kit suits a workshop project, educational demonstration, or other permitted application. A kit is not automatically compliant just because it is sold online. Confirm applicable rules with the relevant communications authority, and use only authorized frequencies and power levels. If the documentation is vague, treat that as a warning. I would also compare the kit’s audio quality using a familiar recording and a suitable receiver, rather than relying on promotional claims alone. Some trade-offs are easy to miss: a compact board may save space, but offer fewer adjustment options. This guide explains what to inspect, which specifications deserve attention, and how to make a careful choice. You may still need to compromise. That is worth considering before assembly.
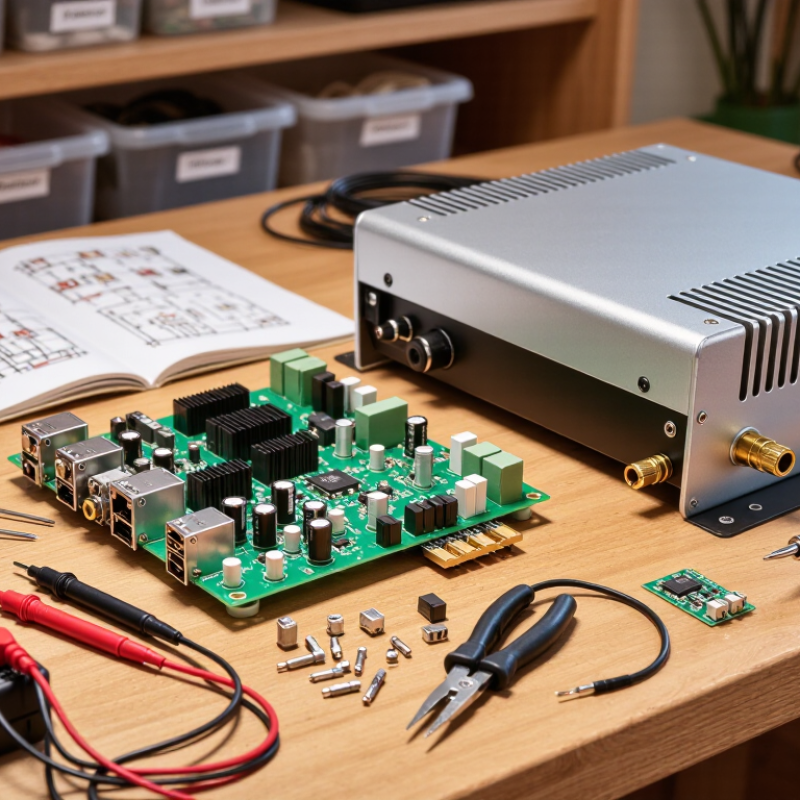
How to Choose an FM Radio Transmitter Kit in 2026?

Define Your Broadcast Range, Use Case, and Local FM Rules

How to Choose an FM Radio Transmitter Kit in 2026?

Begin with the people you need to reach, not the kit’s advertised range. A transmitter for one room has different needs from one serving a community event. Walls, hills, nearby buildings, antenna placement, and receiver quality can all change reception. A range estimate is only a starting point. It is easy to overestimate what a clear signal will cover.

Tips: Sketch your listening area and mark likely obstacles. Check local rules before transmitting; permitted frequencies, power limits, and licensing requirements vary by location. Ask the relevant communications regulator if guidance is unclear. Do not assume a kit is automatically approved for your intended use.

Choose equipment that fits the approved operating conditions and your actual setting. For indoor announcements, simple controls and stable audio may matter more than distance. For outdoor use, consider safe antenna placement and weather protection. Test reception only where permitted, using compliant settings and suitable equipment. Keep notes on where audio becomes noisy or drops out. Small details matter. A quick test can still mislead if the venue is empty; people and equipment may affect reception. Recheck under realistic conditions, and adjust your plan rather than exceeding local limits.


Compare Frequency, Power, Audio Quality, and Antenna Options

Start with frequency coverage, not the largest number on the box. Choose a kit that can be tuned to a permitted frequency in your area. Check its tuning steps and stability; a display that drifts can make a carefully set channel less reliable. Power matters, but more output is not automatically better. It can increase interference or exceed local limits, so check current official guidance before transmitting.

Listen for clean audio, not just impressive specifications. Test with a familiar voice recording and music at a moderate level. Notice hiss, distortion, and uneven volume, especially when the source changes. Adjustable input gain can help, but too much gain may cause harsh, clipped sound. Small details matter. A headphone check is useful, though it cannot reveal every issue heard on a receiver.

Compare antenna options by matching them to your space and setup. A compact antenna may suit a small indoor project, while a longer design can need more clearance and careful placement. Check connector type and cable length before buying; a mismatched connector is an avoidable nuisance. Keep the antenna away from large metal objects where practical. I would not pretend one specification settles the choice: the best fit depends on your location, audio source, and permitted use.

How to Choose an FM Radio Transmitter Kit in 2026? — Compare Frequency, Power, Audio Quality, and Antenna Options
Typical Kit Type Frequency Coverage & Tuning Typical RF Output Audio Quality Antenna Options Best Suited For Key Checks Before Buying
Basic mono kit Usually covers part or all of the regional FM broadcast band; tuning may use a trimmer or fixed oscillator. Often in the tens of milliwatts; actual output depends on the circuit and supply voltage. Mono; adequate for speech and simple demonstrations. Frequency response and noise performance vary by design. Short wire or telescopic antenna; some kits provide only a PCB antenna connection. Learning electronics, short-range experiments, or simple audio demonstrations. Check the tuning range, frequency drift, audio input level, and whether the antenna is included.
PLL-tuned mono kit Typically offers digitally selected frequencies across a specified FM band; coverage is model-dependent. Commonly tens to a few hundred milliwatts, depending on the design. Mono output with more stable tuning than a basic free-running oscillator when the PLL is properly implemented. Wire or external antenna connection; verify connector type and matching requirements. Users who need repeatable frequency selection and improved frequency stability. Look for the tuning step size, stated frequency stability, and whether the kit requires programming.
PLL stereo kit Usually digitally tunable within the kit’s stated FM band; band limits differ by region and design. Often tens to a few hundred milliwatts; output should be stated as conducted RF power, not assumed coverage. Stereo transmission uses a multiplex signal. Check for stereo pilot support, audio response, and distortion specifications. Wire or external 50-ohm antenna connection may be available; confirm the required antenna type. Stereo audio demonstrations and applications where stereo reception is important. Check whether stereo encoding is built in, the required audio inputs, and any published signal-to-noise or distortion figures.
Higher-output modular kit May cover a selected portion of the FM band; frequency control can be PLL-based or module-specific. Some modules are rated from several hundred milliwatts up to around 1 watt or more; ratings vary widely and do not indicate legal permission to transmit. Can support mono or stereo, but higher RF output does not by itself improve audio quality. Usually designed for an external antenna and coaxial feed; antenna impedance and feed-line loss matter. Bench testing or controlled, authorized installations that require a modular RF stage. Confirm output measurement conditions, heat and power-supply needs, filtering, antenna matching, and applicable regulations.
USB-powered or compact kit Often provides a limited preset range or digital tuning; confirm that its range matches the intended region. Generally designed for low-power operation; check the manufacturer’s measured specification. Convenient for basic playback; input noise and audio processing depend on the kit. Usually a short built-in or supplied wire antenna; external antenna support is not guaranteed. Portable demonstrations and simple indoor setups. Check power-supply noise, input compatibility, tuning controls, and whether the antenna can be replaced.
Important selection note FM broadcast allocations and permitted transmitter power differ by country. A frequency range or power rating in a kit listing is not proof of regulatory compliance. Check local rules, distinguish transmitter output from effective radiated power, and use only an authorized frequency and compliant antenna setup.

Assess Kit Components, Build Difficulty, and Required Tools

A useful FM radio transmitter kit should include more than a circuit board. Check for a clear parts list, labeled components, a stable power option, and instructions that explain testing steps. A schematic helps when a connection is unclear. Small parts matter. Look for the specified output connector and antenna details, too; vague instructions can turn a simple build into guesswork. Confirm that the kit is intended for lawful, authorized use, and check local requirements before transmitting.

Build difficulty depends on your experience and the kit’s assembly style. A preassembled board may need only basic setup, while a solder-it-yourself kit requires steady hands and careful component placement. Expect to use a temperature-controlled soldering iron, solder, wire cutters, and a digital multimeter. Safety glasses and good ventilation are sensible. Keep the work surface bright; tiny resistors are easy to mix up. Read the manual before powering anything on, and check for solder bridges or reversed components. A multimeter can catch some mistakes, but not every one. The advertised difficulty may still underestimate the patience required.

Check Compatibility, Safety Features, Documentation, and Support

Choose an Fm Transmitter Kit by checking the full signal path, not just the advertised frequency range. Match its input voltage, audio connection, antenna connector, and impedance to your setup. A plug can fit and still be the wrong match. Check the manual for setup diagrams and confirm local radio requirements before operating the device. Small details matter.

Safety features deserve a close look. Prefer clear power ratings, overcurrent protection, ventilation guidance, and instructions for grounding where applicable. The National Fire Protection Association’s Home Electrical Fires report estimated 32,620 U.S. home structure fires annually involving electrical distribution or lighting equipment in 2015–2019. That figure does not isolate transmitter kits, but it underscores why careful wiring and power handling matter. Inspect the board for loose solder, damaged insulation, or parts that feel unusually hot during a brief, supervised test.

Documentation and support are practical buying criteria. Look for a dated manual, a parts list, troubleshooting steps, and a reachable support channel. Ask whether replacement components are available and whether support can clarify calibration steps. I would keep the first test simple: connect the documented power supply, check the audio input, then review the instructions before changing settings. One caveat: manuals can lag behind hardware revisions, so confirm the kit version matches its documentation.

Verify Performance and Compliance Before Choosing a Kit

A kit’s advertised range is only a starting point. Check its frequency stability, output consistency, audio distortion, and unwanted emissions under realistic conditions. A calibrated frequency counter and spectrum analyzer can reveal drift or spurious signals that a basic power indicator will miss. Ask for test conditions and measurement results, not just a maximum-range figure. Measure it twice.

Ofcom’s 2024 Media Nations report found that about 88% of UK adults listened to radio weekly. That audience statistic is not a transmitter benchmark, but it underlines why dependable performance matters. Before purchase, confirm the kit’s documentation covers radio-frequency emissions, electromagnetic compatibility, and electrical safety. Check that its approval applies in your country and intended use; requirements differ by jurisdiction. The ITU Radio Regulations set an international framework for spectrum allocation, while national authorities determine local equipment rules. One caveat: a neat certificate does not prove every assembled kit performs well. I would also review the supplied antenna, power supply, and test reports, then inspect the finished unit for stable operation. Small details matter.

Request Quote

Sign Up